Ingatlah untuk mengikuti cadangan pengilang untuk pembersihan dan penyelenggaraan untuk memastikan rumput anda kelihatan hebat dan untuk memanjangkan jangka hayatnya.
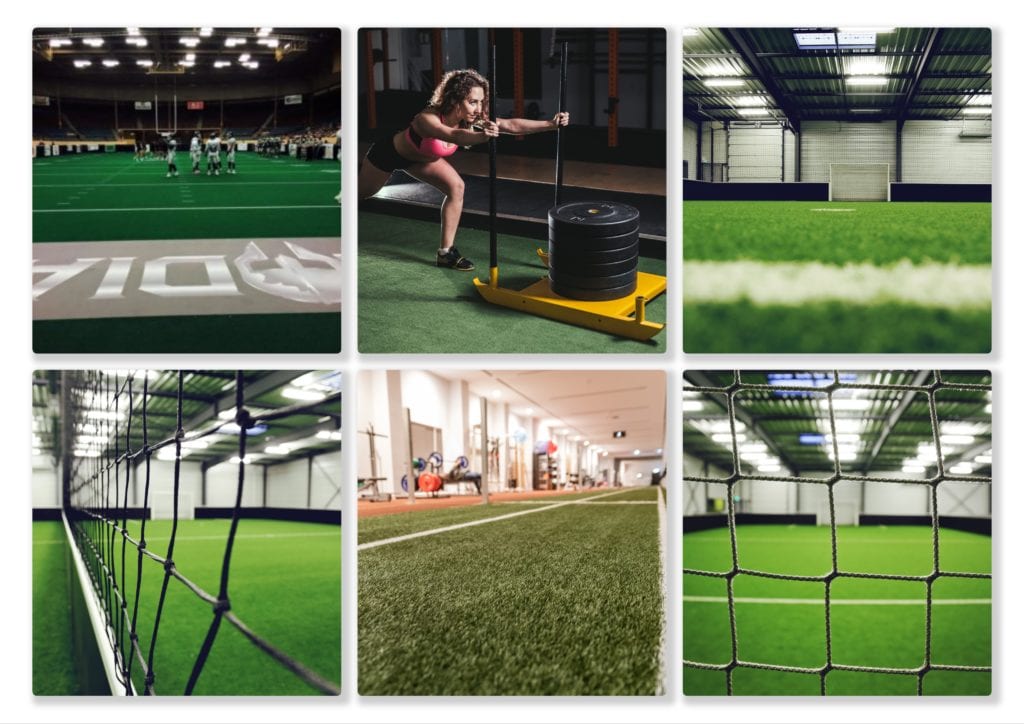
Indoor Turf
Synthetic Lawn and grass have great residential and commercial indoor applications as well. Daripada memasang gelanggang bola hijau atau bocce anda sendiri, ke kawasan rumput untuk klinik, gyms and sports facilities– our indoor artificial turf installation projects are some of our favorites.
Installing artificial indoor turf flooring can be a great addition to your home, Gim, or indoor sports facility. Here’s a step-by-step guide to help you with the installation process:
 Materials and Tools Needed:
- Artificial turf rolls (the size and quantity will depend on your space)
- Utility knife or turf cutter
- Adhesive (sebagai contoh, turf glue or double-sided tape)
- Seam tape (if needed)
- Measuring tape
- Straightedge or a long ruler
- Hammer and nails (optional)
- Infill material (optional, depending on the type of turf)
Step 1: Prepare the Area
- Clear the installation area of any furniture, equipment, or debris.
- Ensure the surface is clean, dry, and level. If installing over a concrete floor, fill any cracks or holes with a leveling compound. For wooden surfaces, make sure there are no protruding nails or screws.
- If you’re installing over existing flooring, like carpet or tile, remove it to expose the subfloor.
Step 2: Plan the Layout
- Measure the area where you’ll be installing the turf and determine the number of rolls needed. Consider the direction of the turf’s grain and plan the layout accordingly to minimize seams and waste.
- If your turf requires infill, make a note of the taip and amount needed.
Step 3: Install the Turf
- Roll out the first strip of turf in the desired location, making sure it’s aligned with the edges of the room.
- Trim any excess turf using a utility knife or turf cutter. Use a straightedge for guidance to ensure clean, straight cuts.
- Apply adhesive or double-sided tape to the edges of the turf or the subfloor, as per the manufacturer’s instructions. Press the turf firmly onto the adhesive to ensure a strong bond.
- If you have multiple turf rolls, repeat steps 1-3 for each roll, making sure to align the edges and minimize seams. If needed, use seam tape to connect adjacent turf strips.
Step 4: Tambah Infill (If Required)
- If your turf requires mengisi, evenly distribute the material across the turf surface using a drop spreader or by hand.
- Use a broom or turf rake to work the infill into the turf fibers, ensuring even coverage and a natural look.
Step 5: Secure the Edges (Pilihan)
- If you’re worried about the turf shifting or lifting, you can secure the edges with nails or landskap staples. Drive them into the subfloor along the edges of the turf, spacing them about 12 kepada 18 inches apart.
Step 6: Clean and Enjoy
- Use a broom, vacuum, or leaf blower to remove any debris from the turf surface.
- Enjoy your new indoor artificial turf flooring!
Significant savings in water costs
No more mowing!
Environmentally friendly: No fertilizer, no pesticides.
Pet-friendly and antimicrobial
A variety of applications
Installation Service Warranty
Pricing
Indoor turf installations generally range between $12 kepada $15 per square foot. Pricing varies with the size of the installation, artificial turf selection and the nature of the project. Padding and other optional materials are an additional cost.
Waranti
Our turf resists mildew and will last for years when used in an indoor installation. We offer a 10-year manufacturer’s warranty on materials and a 5-year warranty on installation services (i.e. buruh).
Interested In Indoor Turf Installation or Replacement?
Synthetic Turf Northwest is a trusted indoor turf installation and replacement company. We have hundreds of satisfied customers and are thrilled to serve you, too!